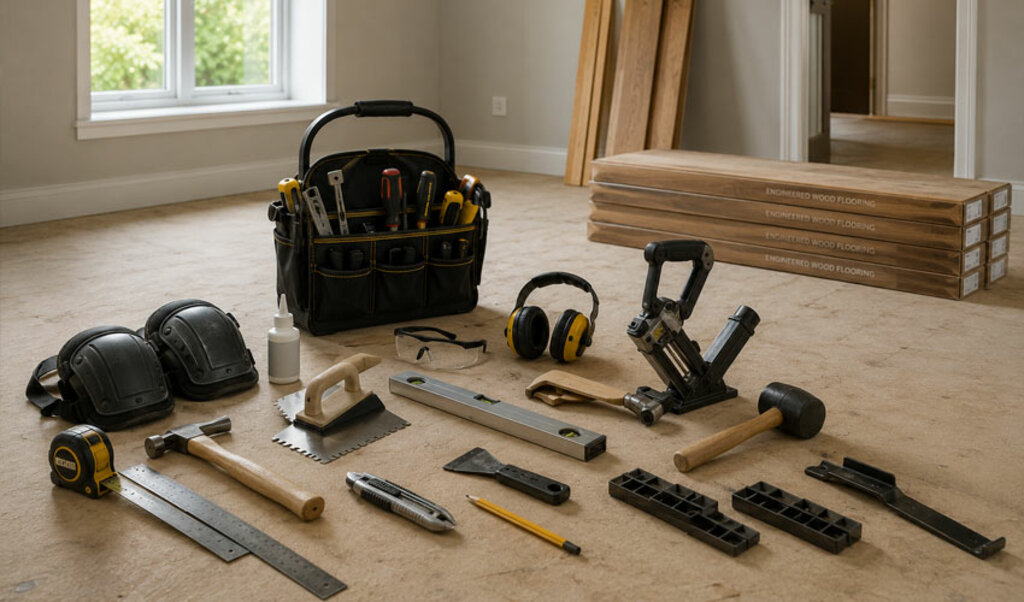
Having the right tools makes the difference between a floor fitting job that goes smoothly and one that creates unnecessary problems. Whether you are a professional fitter or a skilled DIY enthusiast, a well-equipped toolkit makes every stage of the process more efficient and the results more consistent.
Measuring and Marking Tools
Accurate measurement is the foundation of good floor fitting. Every fitter needs a reliable steel tape measure — at least 5 metres, ideally 8 metres for larger rooms. A long spirit level or straightedge is essential for checking subfloor flatness and ensuring the first row of boards is truly straight before you begin laying.
A chalk line reel is one of the most useful tools for setting out a floor. Snapping a chalk line across the room gives you a straight reference line to work from, which is particularly important when laying herringbone patterns or diagonal runs. A combination square and a pencil are standard items for marking cut lines accurately on individual boards.
Cutting Tools
Cutting flooring boards cleanly and accurately requires the right saw for the job. A pull saw or a mitre saw with a sharp blade suited to the material (timber, laminate, or LVT) is the workhorse of any fitting job. A jigsaw is essential for cutting around obstacles such as door frames, pipes, and radiator pipes — no amount of ingenuity with a straight saw replaces the jigsaw for these awkward cuts.
- Mitre saw (chop saw) — for fast, accurate crosscuts on solid and engineered boards
- Table saw or tracksaw — for ripping boards to width along their length, particularly for border rows
- Jigsaw — for curved and internal cuts around pipes, architraves, and hearths
- Oscillating multi-tool — invaluable for undercutting door frames and architraves to allow the flooring to slide underneath cleanly
- Fine-tooth pull saw — for hand cuts in tight spaces where power tools cannot reach
Installation and Fitting Tools
Getting the boards locked together correctly and positioned accurately requires a set of dedicated installation tools. A tapping block is used with a mallet to tap boards into position without damaging the locking joint. A pull bar hooks over the edge of the last board in a row and allows you to tap the board tight against the previous row without damaging the click profile. Rather than sourcing these individually, Elka's Fitting Kit bundles spacers, a pull bar and a tapping block together with the joint adhesive needed for a tongue-and-groove installation.
Spacers maintain the correct expansion gap around the perimeter of the room. These are essential for wood-based floating floors, which need room to expand and contract with changes in temperature and humidity. Standard spacers are 8 to 10mm, though the exact gap required depends on the product specification.
A rubber mallet rather than a metal hammer is the right tool for tapping boards. Metal hammers can crack joints and split board edges even when used with a tapping block. The mallet allows controlled force without the risk of damage.
Adhesive Application Tools
If you're using a full-spread or gun-applied adhesive rather than a floating floor system, the right applicator matters as much as the product itself. Tub-applied silane adhesives like Bona R848 need a suitably sized notched trowel to control spread thickness and coverage. Sausage-format adhesives, such as Bona Quantum T or Elka's Trade Flex Pack, need a proper adhesive/caulking gun rated for their cartridge size — using an underpowered gun on a high-viscosity adhesive makes application unnecessarily hard work.
Subfloor Preparation Tools
Before any flooring goes down, the subfloor needs to be flat, clean and — where relevant — properly primed. A quality floor scraper removes old adhesive residue and debris. For sanding down an existing subfloor or a raised board edge, having a stock of sanding abrasives on hand saves a delayed trip mid-job. Where a subfloor needs damp testing or a DPM primer applying first, a moisture meter is worth adding to the kit — proceeding without checking can undo an otherwise careful installation.
Finishing Tools and Accessories
A good set of finishing tools makes the difference between a job that looks professional and one that looks amateur. A floor scraper and kneeling pads make the physical work of laying more comfortable over a long day. A caulking gun applies silicone or adhesive sealant to transitions and perimeter gaps cleanly.
A profile gauge copies the shape of complex obstacles — curved architraves, stone hearths — so you can transfer the profile accurately to the board before cutting. This saves material and produces cleaner results than trial and error.
Finally, a good broom and vacuum cleaner are needed throughout the job. Dust and debris under the boards create hollow spots and noise — keeping the subfloor clean as you go saves problems later.
Full Toolkit Checklist
- Steel tape measure (5-8 metres)
- Spirit level or straightedge
- Chalk line reel
- Combination square and pencil
- Mitre saw or pull saw
- Table saw or tracksaw
- Jigsaw
- Oscillating multi-tool
- Tapping block, pull bar and spacers (or a bundled fitting kit)
- Rubber mallet
- Notched trowel or adhesive gun, matched to your adhesive format
- Floor scraper and moisture meter
- Sanding abrasives for subfloor prep
- Profile gauge
- Kneeling pads
- Broom and vacuum cleaner
A quality toolkit is not an overnight investment, but built up over time it becomes one of the most valuable assets of any flooring professional.
Common Questions About Floor Fitting Tools
Do I need a separate pull bar and tapping block, or is there a bundled option?
Elka's Fitting Kit bundles spacers, a pull bar and a tapping block together with joint adhesive, which is often more convenient than sourcing each tool separately for a single job.
What size caulking gun do I need for sausage-format adhesive?
It needs to be rated for the specific cartridge size of your adhesive — products like Bona Quantum T or Elka's Trade Flex Pack come in specific sausage sizes, so check compatibility with your gun before buying adhesive in that format.
Why is a moisture meter worth having in a fitting toolkit?
Checking subfloor moisture before laying can reveal a need for a damp proof membrane primer that wouldn't otherwise be obvious — skipping this step is one of the more common causes of a floor failing after installation.
Can I use a metal hammer instead of a rubber mallet with a tapping block?
It's not recommended — a metal hammer can crack joints or split board edges even with a tapping block in place, while a rubber mallet allows controlled force without that risk.